Even though Henry is our third baby, it still takes my breath away how fast the time flies! Babies don’t keep, and that’s why so many parents like to document their growth as often as possible. A professional portrait session wouldn’t be feasible every single month, but with a few simple steps, you can take your own beautiful baby photos right at home! This DIY monthly baby portraits tutorial will give you all of my best tricks and tips I’ve used to document my own three babies’ first years.
DIY Monthly Baby Portraits Tutorial
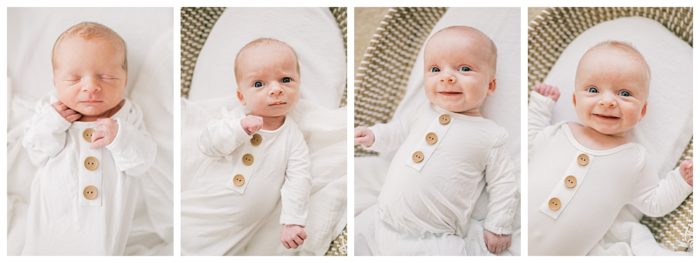
First, let’s talk about setting expectations. These micro sessions should be fast, in order to keep both you and baby happy! Elaborate setups and complicated poses aren’t the goal here. Instead, aim for classic, simple poses that you can recreate every month, which will highlight the growth and changes. My monthly sessions with Henry last no more than ten minutes at most!
The next thing you’ll want to consider is consistency. You’ll want to take these photos in a room in your home that gets the best natural light, ideally with light, neutral walls. Plan to take them in that room every time, in similar lighting, to achieve best results. For example, I always take Henry’s portraits on days with full sun, around 10am, in our master bedroom. Late morning tends to be when babies are in their best moods, too.
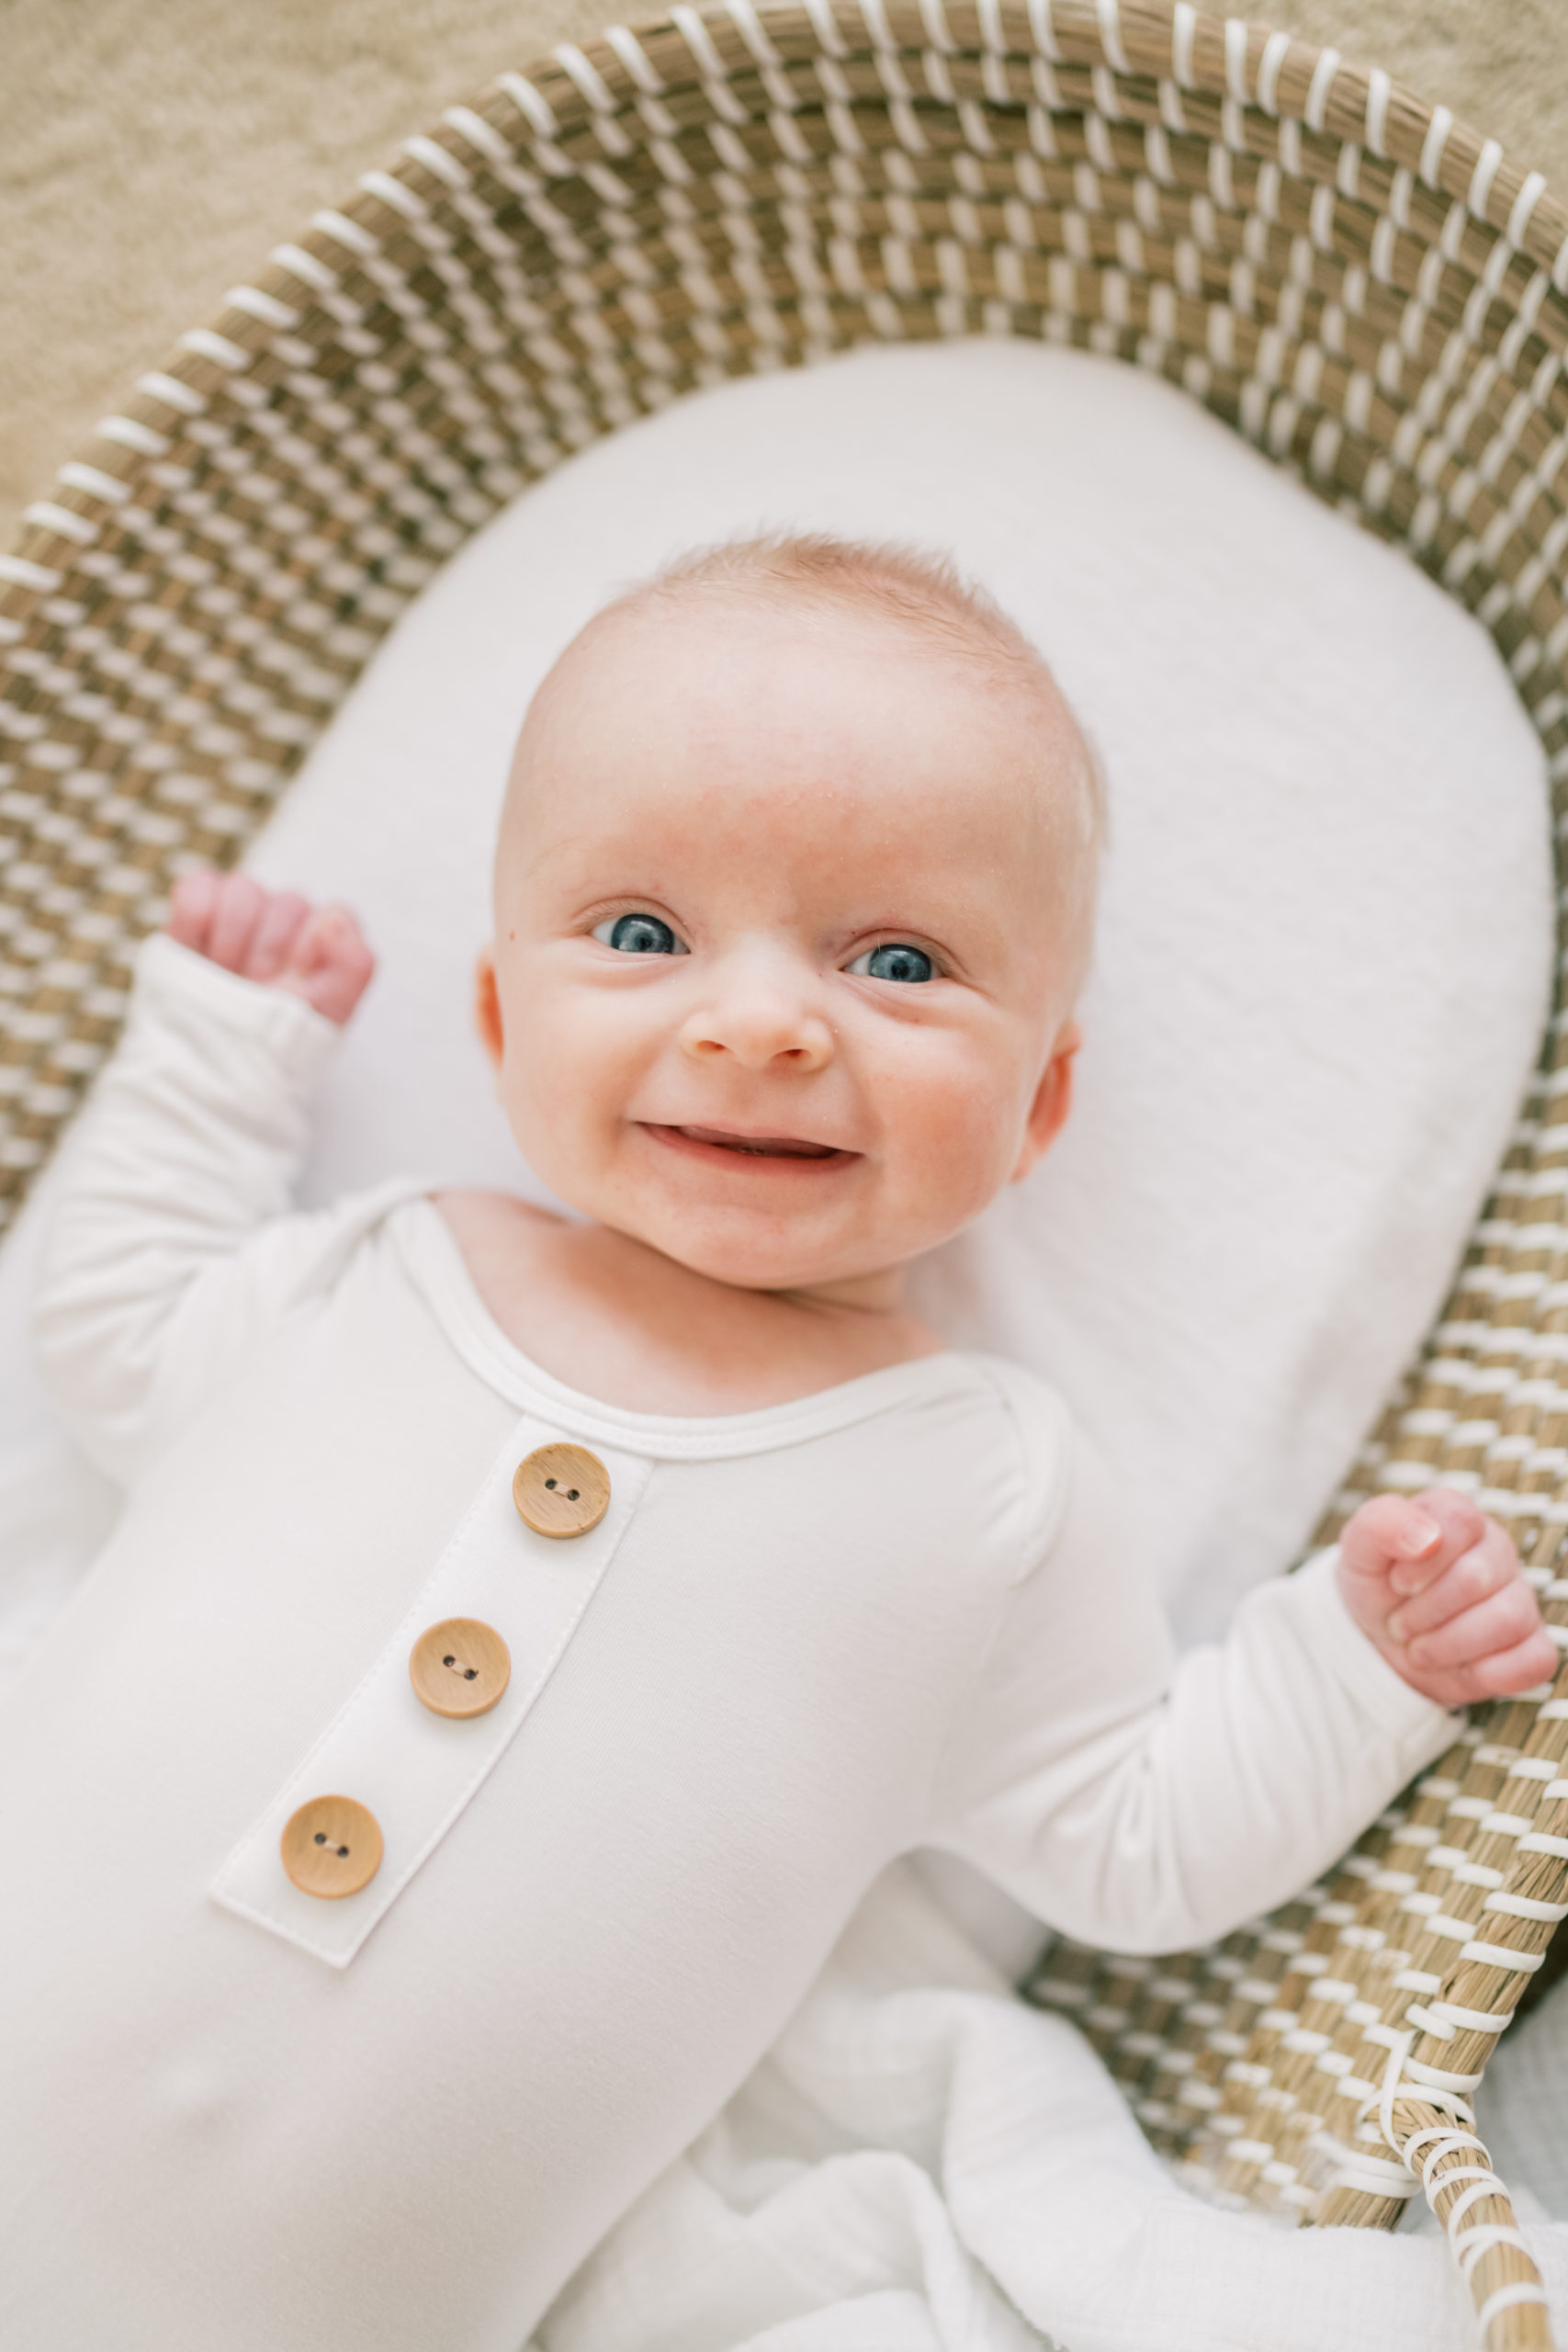
What baby is wearing is crucially important! A plain white onesie is best, because you can dress baby in one every month. This keeps the focus on your baby’s sweet features and eliminates distractions, and the white fabric will bounce soft light back on to baby’s face. Honestly, I love Henry’s bamboo sleeper that he’s wearing in his monthly portraits, but I already wish I’d gone with a onesie instead so that I could keep it consistent throughout the whole year!
Keep props to a minimum. I use a beautiful Moses basket for Henry’s portraits that I lay on the floor of our room. Once he can sit unassisted, I’ll have him sit in it instead of lying down. Keep in mind that taking these portraits will start out pretty easy, but will get harder each month as baby gets more mobile! Keep things short, sweet, and simple to ensure success.
Technical Details
Place baby close to a natural light source, such as a large window. Ideally, you want to side light the baby. This means baby and the window should be parallel to each other. Never point baby’s legs or chin towards the light source! This results in “uplighting”, aka, the effect similar to holding a flashlight under your face while telling a ghost story. It’s unflattering, even for babies! Be sure to turn off all artificial light sources and open curtains to let in as much light as possible.
Use whatever camera you’re most comfortable with, even if it’s just your phone. Now isn’t the time to try to learn something new! If you’re using the tips I’ve shared in this tutorial, any modern phone camera will still produce good results.
If using a DSLR or mirrorless camera, I recommend a 35mm or 50mm lens. My typical settings in this lighting scenario are ISO 640, aperture around 1.8, and shutter speed around 250.
Make sure you’re directly above baby, and avoiding shooting up their nose. If you’re seeing too much nostril or double chin, move up above them a little more. If there’s too much of the top of their head, move down. Again, keep this quick! You’ll probably get the best expressions in the first moment or two.
Lastly, don’t stress too much about taking these portraits on the same day every month! Life is going to happen and you won’t always have the right conditions on the monthly marker. I aim to take Henry’s portraits within 5 days of the 15th (the day he was born) and consider it a success if I make that goal! Years from now, you won’t remember that the photos weren’t taken on the exact date, but you will have a beautiful keepsake to remind you of that first year.
Don’t forget to get in the frame with your baby, too! When you’re ready for portraits that feature the whole family, I’d love to help design the session of your dreams. Contact me here to get started!
+ view the comments